How to Make a Color by Number From a Photo
See three photos converted into printable color by number worksheets and learn how to choose a readable level of detail.
A numbered photo worksheet groups similar colors into regions and assigns each group a number. It works best when the subject is easy to recognize at a small size. Try a pet against a plain wall, a toy with a few strong colors or a landscape with a clear horizon.
Three examples from the generator
These examples use the Balanced preset on a Letter sheet. The preview on the right is the actual numbered output from the supplied sample.

Puppy photo
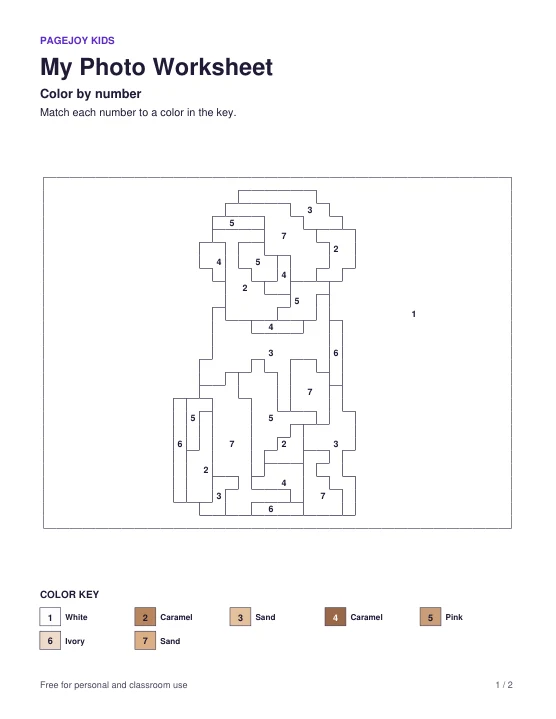
Numbered puppy sheet
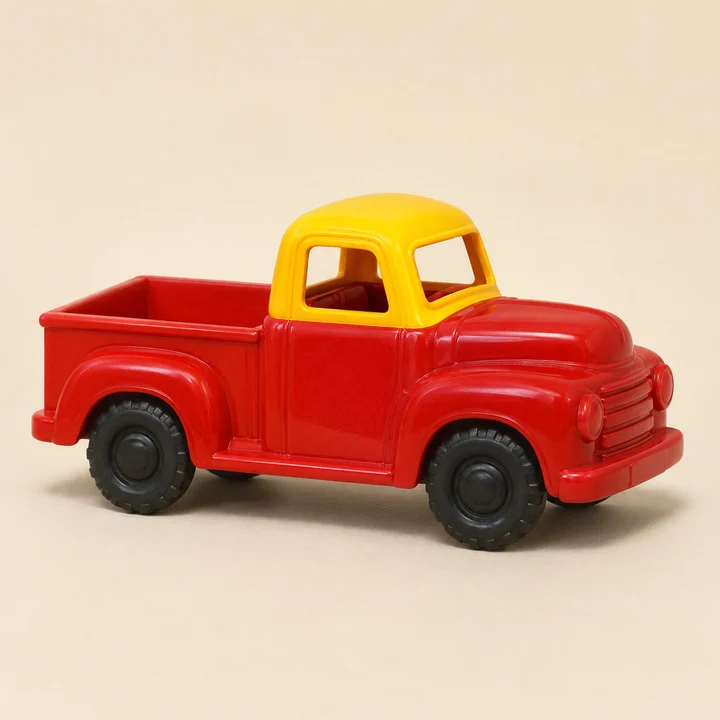
Toy photo
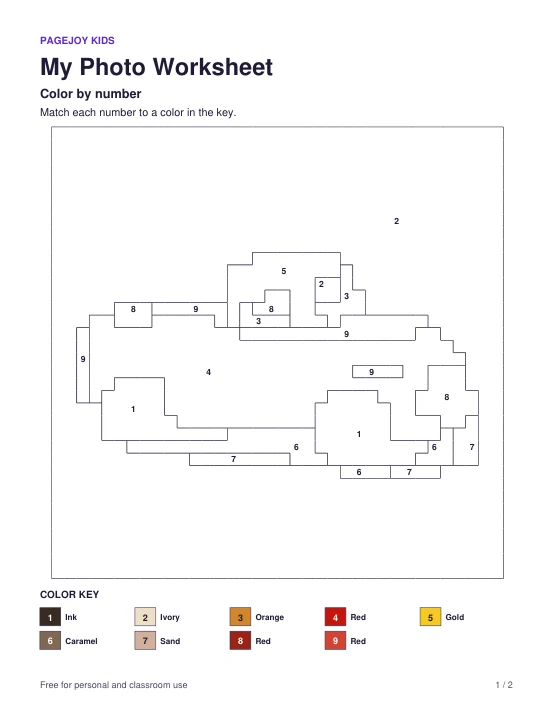
Numbered toy sheet
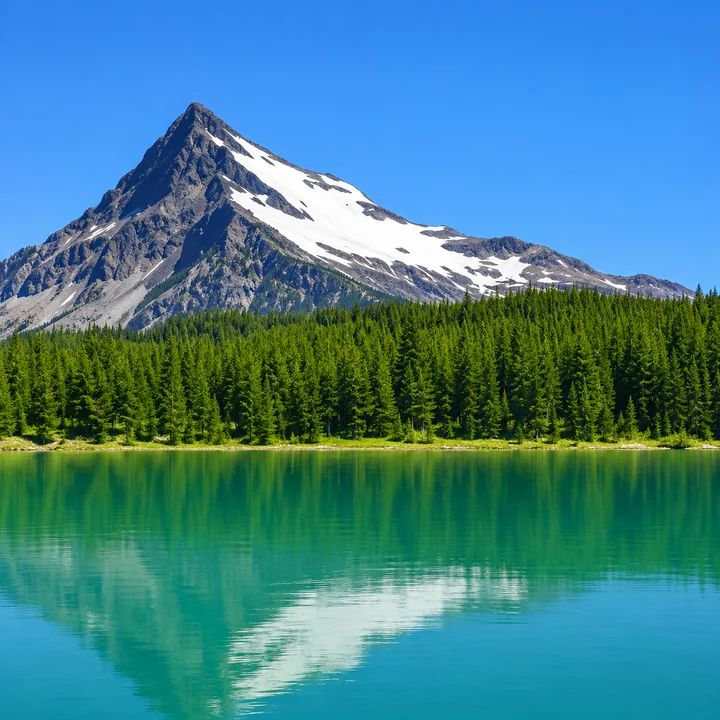
Landscape photo
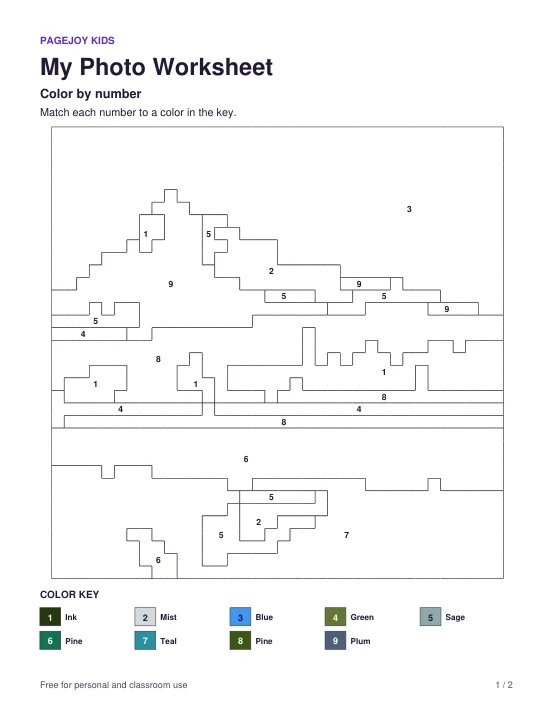
Numbered landscape sheet
Match the detail to the paper
- Open the photo generator and choose your own photo or a sample.
- Try Simple for larger groups, Balanced for a middle setting, or Detailed for smaller regions and more colors. Toggle the answer key to see whether the picture still reads clearly.
- Choose US Letter or A4 and download the PDF. Print page one for coloring and keep page two to check the finished picture and palette.
If the background takes over, adjust Crop to move closer to the center of the photo, or pick an image with a simpler backdrop. If the subject is hard to recognize even in Detailed mode, try a brighter or better separated photo. For a ready-to-print picture see the adult collection or easy worksheets for kids.